 NexSHOPX-官方新闻
You've just taken over a Gmail/Google Workspace account for overseas business, or are auditing your own account. The biggest fear is changing the password only to find out someone else can still get in, or worse, locking yourself out. Here's the conclusion up front: the real security controls in Gmail account security settings are four items—two-step verification, recovery options, signed-in devices, and third-party app authorizations. The password is just the outermost layer. The ownership of two-step verification is crucial: Google Workspace admin accounts are being force-enrolled in 2SV on a 7-day, 15-day, and 30-day escalation schedule. If you wait until the Web interface is blocked, remediation becomes much more painful.
Conclusion First: Four Items Matter in Gmail Security, Not the Password
Google's security mechanisms are always about "who can pass the login challenge, who can recover the account, who is still in the session, and who has data permissions." When you take over or audit an account in the context of overseas account two-step verification, check the following four items:
| Check Item | Purpose | Consequence of Mishandling |
|---|---|---|
| Two-Step Verification (2SV) | Determines who can pass the login challenge after knowing the password | The previous owner can still access via their own verification method |
| Recovery Email & Phone | Backup keys to recover the account | Others could reset the password via the recovery process |
| Signed-in Devices & Sessions | Historical devices may have persistent login | Even after a password change, old devices may still access some services |
| Third-Party App Authorizations | OAuth apps may hold email, contacts permissions | Residual credentials can be exploited |
Changing the password without touching these four is like replacing the front door lock while leaving a spare key with someone else. Google's official Security Checkup also treats these modules as core to account security.
Check Item 1: Two-Step Verification – Bind Your Own Verification Method and Confirm Ownership
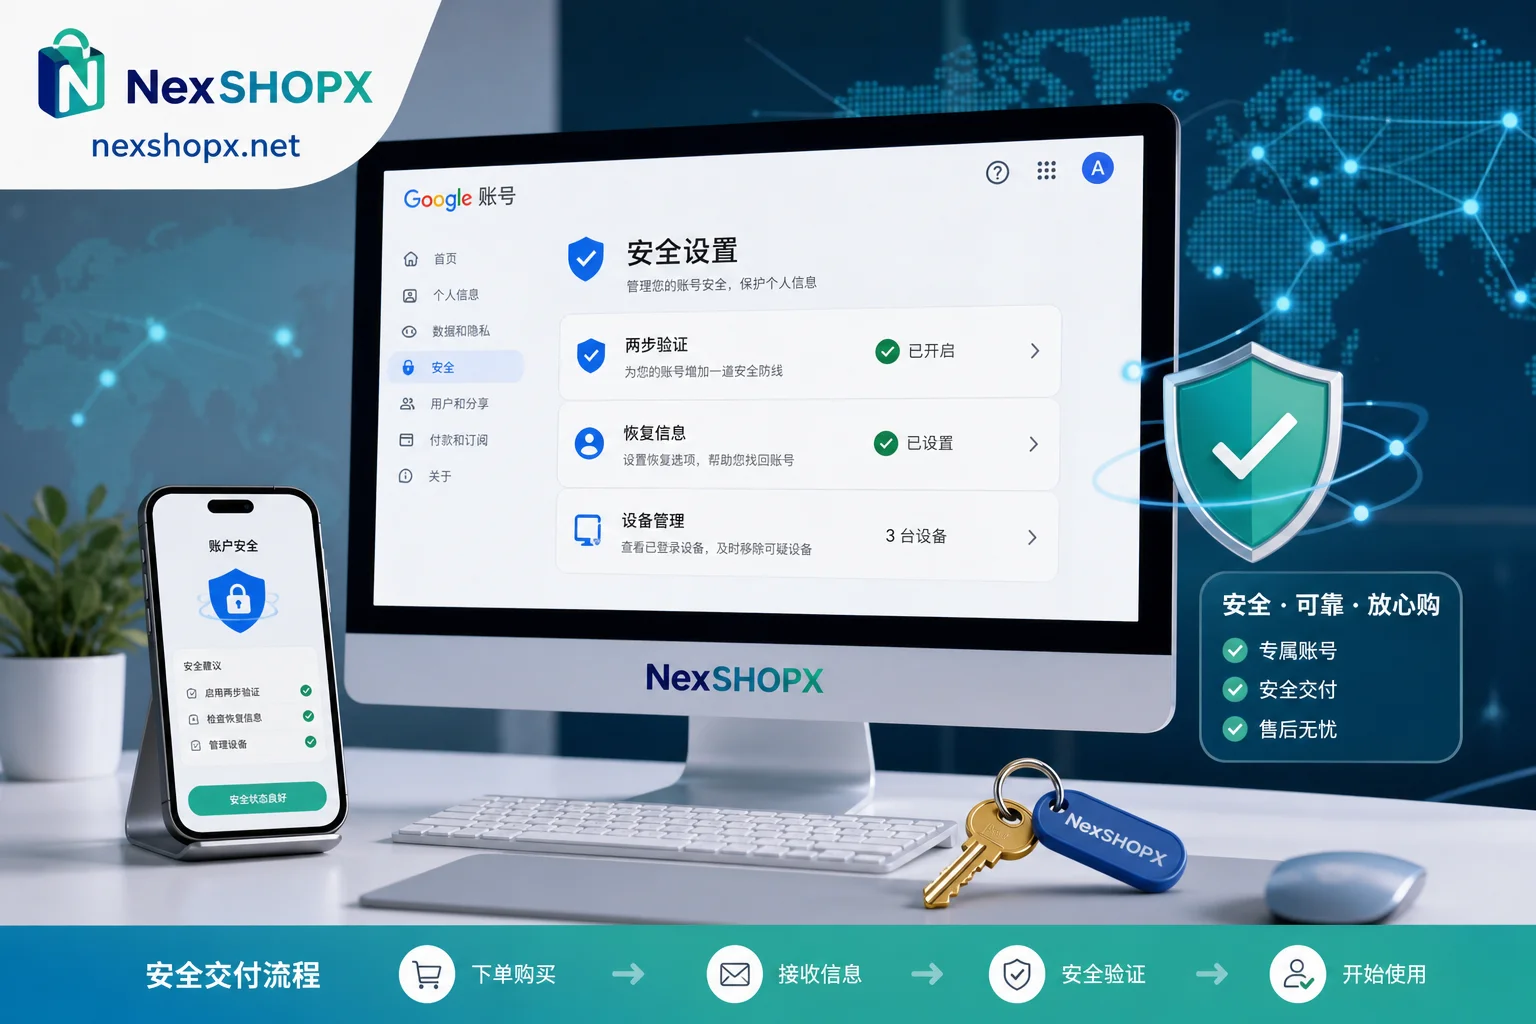
The ownership of two-step verification (2SV) is the heart of control. To enable 2SV, go to your Google account's Security page, and in the "Two-step verification" section, follow the prompts to bind your device. The key isn't whether it's enabled, but whose device the verification method is tied to.
When taking over an account, first add your own verification method and complete the binding, confirm you can independently pass the login challenge, and then remove the previous owner's verification methods. That way, even if they had previously bound their methods, they'll lose access after removal. Be careful not to remove the other person's method without adding your own first—that would be like welding the door shut, locking yourself out too.
Workspace Timing: What 7-Day, 15-Day, 30-Day Enforcement Means
If your account belongs to a Google Workspace admin, the situation is more urgent. Google officially began enforcing 2SV for admin accounts starting December 2023, with a hard timeline: After 7 days past the deadline, the admin console shows persistent pop-up reminders; after 15 days, access to mobile Workspace apps is blocked; after 30 days, all web-based apps are blocked until 2SV is completed. If you exceed the deadline, you must go through the admin recovery process.
Is 2SV mandatory for Google Workspace admins? Yes, it is not optional—it's a mandatory action with a deadline. If your account gets restricted, you can follow the Google Help page to submit a recovery request, but once the self-service window is closed, the process is more cumbersome. For handover scenarios, this means binding 2SV is a time-sensitive action; don't wait until day 15 or day 30.
| Time Overdue | Blocking Action |
|---|---|
| 7 days | Persistent pop-up reminders in the admin console |
| 15 days | Blocked access to mobile Workspace apps |
| 30 days | Blocked access to all web apps; require admin recovery process |
Check Item 2: Recovery Options – If Recovery Email or Phone Not Changed, You Leave a Spare Key
Even if two-step verification is under your control, if the recovery email or phone still points to the previous owner, they can still reset the password through the recovery process. To change the recovery email, go to the Security page of your Google account, find the "Recovery info" section, and replace the auxiliary email and phone number with ones you can control long-term. After changing, ensure the new email can receive verification codes to avoid locking yourself out.
Similarly, if the account has multiple recovery options bound, check and remove old ones one by one. This is especially important in cross-border team account management scenarios (like cross-border team account management), where any old recovery option could serve as a backdoor.
Check Item 3: Active Sessions & Devices – Review Recent Logins and Sign Out Unwanted Devices
Even after a password change, historical devices might retain valid sessions (especially persistent sessions with long-term authorization). To view recently logged-in devices, go to the Security page and look at the "Your devices" list to see all signed-in devices. Additionally, "Recent security activity" shows login times and locations to spot anomalies.
To sign out other devices, find the device in the list and click "Sign out." Timing matters: be sure you've first bound your own two-step verification on your device and confirmed you can pass verification, then sign out other devices. Otherwise, you might be forced to re-verify after logout, and if your own verification method isn't set up, you could find yourself locked out.
Check Item 4: Third-Party App Authorizations – The Most Overlooked OAuth Access
Many account breaches aren't due to password leaks but abuse of third-party OAuth authorizations. Google's official account help pages (updated May 2024) state that authorized third-party apps might access your email, contacts, and other data, and you can revoke permissions at any time. In the relevant "Security and privacy" sections of your Google account, find "Third-party connections" and review permissions item by item.
For any apps you don't recognize or that aren't relevant to your current workflow, revoke access promptly. Note that revoking will require those tools to be reauthorized to work again, so only revoke suspicious or unused apps. This step is essential to cut off residual credentials.
Correct Order: Set Up Your Own Verification First, Then Purge Others
If you execute Gmail security settings in the wrong order, you might lock yourself out. The right approach is:
- First add your own two-step verification methods (Passkey or authenticator app) and complete the binding.
- Change the recovery email and phone to your own controlled contact details.
- Confirm you can independently pass the login challenge (try signing out and back in once).
- Only then sign out other devices and revoke third-party access.
- Finally, change the password.
If you sign out devices or change recovery info first, you may fail subsequent verification—especially if you've already removed the original verification method. In the extreme scenario where a Workspace admin is restricted, the self-service window may be closed, and you'll have to go through the admin recovery process, which takes longer.
How to Verify Success: Three Criteria You Can Check Yourself
To verify that your Gmail security settings are effective, use three criteria:
- On the Security page, both the two-step verification method and recovery info point to devices and contacts you control.
- The "Your devices" list shows only the device you're currently using.
- The "Third-party connections" list has no unfamiliar apps.
Additionally, you can open an incognito window and sign in again to confirm the verification code or Passkey goes to you. These criteria show current ownership is correct but don't guarantee permanent security—Google may still impose risk-based limits per its Terms of Service. Security settings are just the foundation.
Purchase & Handover: What NexSHOPX Can Help With, and Where Its Limits Are
If you're planning to buy or have purchased Google/Gmail resources through NexSHOPX, use category search to confirm the resource type (e.g., personal Gmail account, Google Workspace account) and delivery format (including whether auxiliary email is included, whether password can be changed). On the day you receive it, audit the four items in the order above, note timestamps, and keep screenshots. If first login fails, contact the Telegram customer service within the after-sales window and provide evidence, referring to overseas account delivery process for handling.
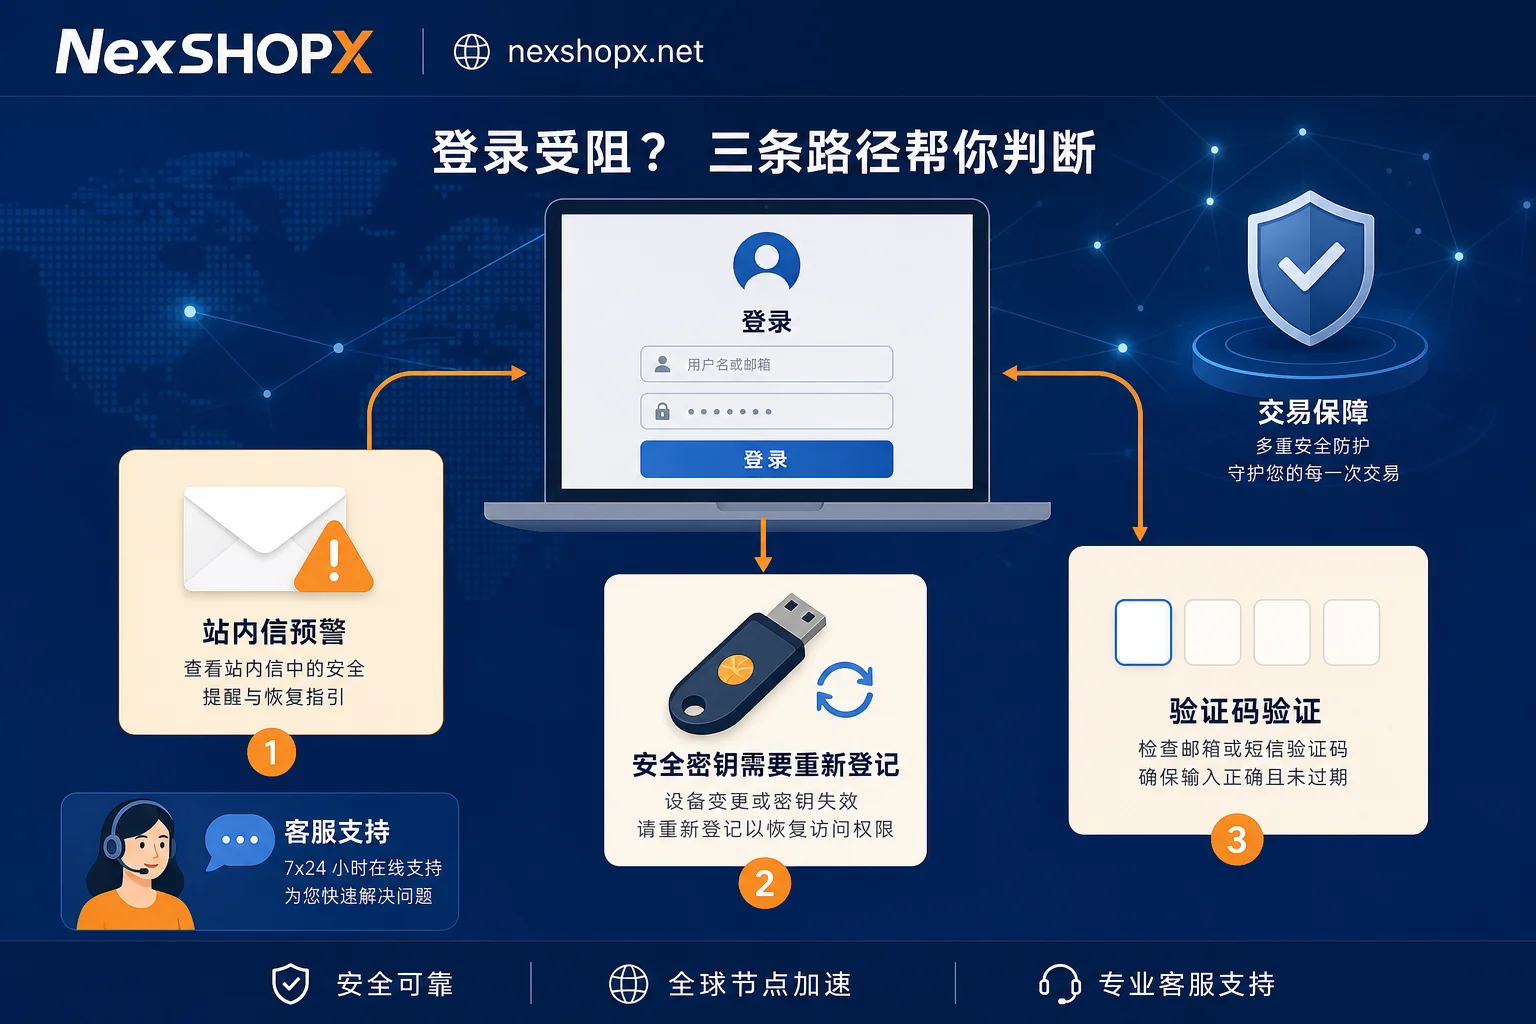
But be aware of boundaries: binding two-step verification, transferring recovery info, and identity verification are actions you must do on Google's side; the platform cannot do them for you, nor guarantee the account won't be flagged for risk in the long run. If you encounter login restrictions, first handle it through Google's official recovery process, and if necessary, use the ideas from account login failure troubleshooting to resolve.
Compliance Reminder
Please comply with Google's Terms of Service and local laws, complete any necessary ID/KYC requirements, and don't attempt to bypass two-step verification, identity checks, or account recovery reviews.
FAQ
How to enable Gmail two-step verification?
Go to the Security page of your Google account, find "Two-step verification," and follow the prompts to add a phone number, authenticator app, or security key. It's recommended to prioritize binding a Passkey or authenticator app, as they are more reliable than SMS.
Where is the Gmail security checkup?
On the Security page of your Google account, that's the entry point for the security checkup, where you can see two-step verification, recovery info, recent activity, and devices. Run it regularly, especially after a handover.
How to change Gmail recovery email to my own?
In the "Recovery info" section on the Security page, click on the recovery email or phone number, verify, and replace with an address/number you can control long-term. After changing, ensure the new email is accessible to avoid lockout.
How to log out other devices on Gmail?
In the "Your devices" list on the Security page, find the device and click "Sign out." It's wise to confirm your own verification methods are set up first, then sign out others.
What if an admin is restricted without two-step verification?
If a Workspace admin account is restricted for not enabling 2SV, you must complete it within the deadline. If you've exceeded it, submit a request through Google's official recovery process and wait for admin review. Stay patient and don't try other methods.



Comments(0)